How to Use a Makeup Sponge: Wet, Squeeze, Tap, Don’t Rub
Wet a makeup sponge until it swells, squeeze it until it stops dripping, and tap instead of rubbing. Mina covers the round side and the pointed tip, damp or dry by product, and a table for streaks and patches.


Wet a makeup sponge until it swells, squeeze it out until no water drips, then tap it on your skin instead of dragging it. Use the round side on wide areas like the cheeks and forehead, and the pointed tip around the eyes and beside the nose.
Sometimes you put on foundation with a sponge and get streaks on your cheeks, or the sponge turns dark while very little lands on your face. This tends to happen when the sponge is too dry or too wet, or when you rub it across your skin. So let’s start with the water and how you move your hand.
For the puff that comes with a cushion, see how to apply cushion foundation. For spreading foundation thin, one area at a time (cheeks, sides of the nose, jaw), see how to apply foundation thinly. For washing and drying a used sponge, see Lesson 3 of our makeup tool cleaning series.


How do you make a damp sponge?
Hold the sponge under running water until it fills all the way through and swells. Then squeeze until it’s no longer dripping. A sponge prepped this way is sometimes called a “water puff.”
The best way to use a Beauty Blender is to ensure it’s damp but not dripping.
Soak it all the way through until it swells
Hold the sponge under running water until water fills it all the way through. A wet sponge gets noticeably bigger, and that’s normal.
When you apply liquid or cream products, always wet the sponge first. A damp sponge soaks up less product, so more of what you apply stays on your skin instead of inside the sponge.

When to use a dry sponge
That doesn’t mean you never use a dry sponge. Some powders are applied with a dry sponge. A wedge sponge gives more coverage when used dry, and a lighter, thinner layer when used wet.
But for liquids and creams, a damp sponge is the default. If you put liquid on a dry sponge, the sponge soaks it up first, and less ends up on your face.
Instead of water, you can mist the sponge with a few sprays of setting spray to make it damp. Another option is to put a few drops of primer on the sponge before you pick up foundation. Check each product’s directions first.
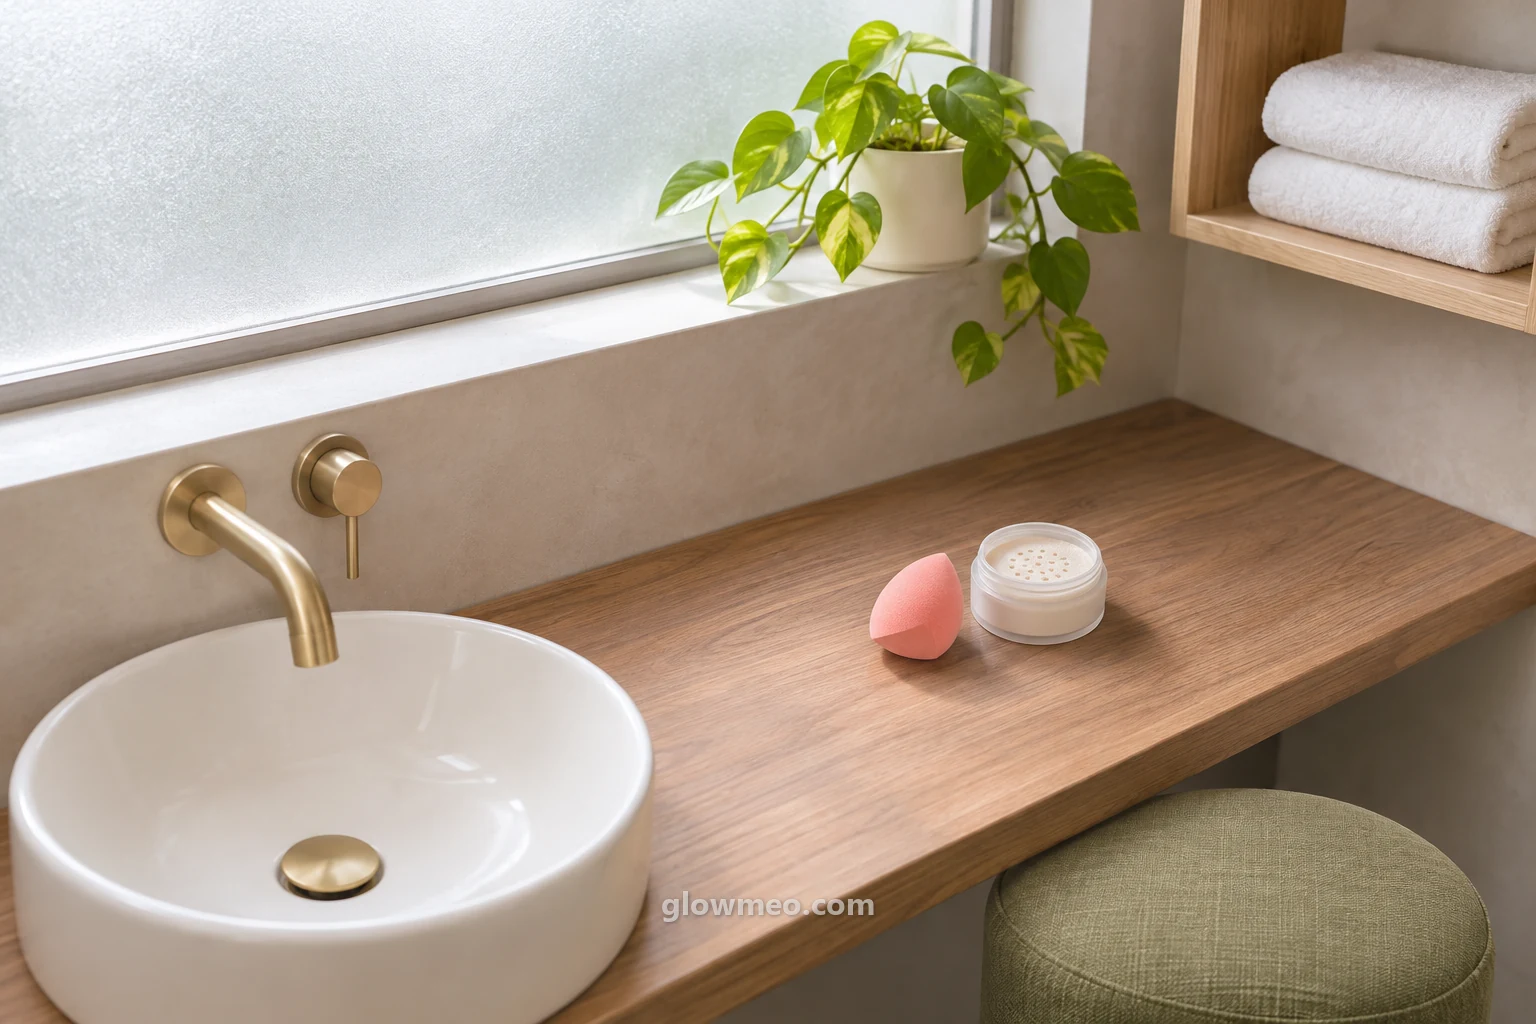
How much water should you squeeze out?
Squeeze it by hand until no drops fall. That’s enough. If it still feels soggy, press it with a dry tissue to take out the extra water.
Too wet, and foundation doesn’t transfer well
With too much water, the sponge can’t move foundation onto your skin well. If the color won’t show up no matter how much you tap, check the water first.
A sponge that’s just damp enough makes foundation look closer to the skin than a dry one does, with a dewy finish. That’s why, after wetting it, you also need to take out the extra water.


A dripping-wet sponge and a sponge squeezed out until it’s just damp.

BYACT
House Makeup Sponge
20 pieces
The flat faces and corners let you switch surfaces for different areas.
View on Naver ShoppingWhy do you tap a sponge instead of rubbing?
Dragging leaves marks, and tapping lays the product evenly on your skin. Move the sponge in short, small, bouncing taps.
Rubbing leaves streaks
When you sweep a sponge across your face, the product just gets pushed around and doesn’t sit evenly. That’s why streaks and patches show up.
Tapping puts product on your skin and spreads it at the same time. Many short, small taps give a smooth finish with no marks.

Keep the pressure light
You don’t need to press hard. Tap lightly, so the sponge just touches your skin and lifts off.
A sponge suits a natural look. A damp sponge gives a smooth finish, almost like pressing product into the skin. A brush is good for precise work and for building coverage. Fingers work well for a very thin, natural layer.

How to apply foundation with a sponge
Put a little foundation on the back of your hand and pick it up with the sponge. Then start at the center of your face and tap outward.
On the back of your hand, not straight onto your face
If you put foundation straight on your face, it’s hard to judge how much you’re using. Makeup artist Holly Burke says to put one or two pumps on the back of your hand and pick up a little at a time. According to Burke, you need less than you’d think.
Lightly dab the round side of the sponge into the foundation on your hand. If you pick up a lot at once, it tends to look thick and heavy even after tapping.

Center outward, and press where you need more coverage
Tap the center of your face first. Then use what’s left on the sponge to spread out to the outer cheeks, jawline and edges of the forehead. Use up what’s on the sponge before you pick up more.
For spots that need more coverage, like blemishes, you can press and tap gently with the flat side of the sponge. If you used a brush first and see brush marks, you can also tap those areas lightly with a damp sponge to smooth them out.

Where do you use the round side and the pointed tip?
Use the round side for wide areas and the pointed tip for small areas like around the eyes and beside the nose. What the flat-cut side is for varies a little by product.
Look at your sponge’s shape first
Sponges come in many shapes, such as teardrop, pear and wedge. Whatever the shape, the big side goes on wide areas and the narrow tip goes into corners.
A flat-cut side can be used to press on concealer or to contour. Uses vary by product, so check the package first. If the package explains how to use it, follow that.

Dab the tip around the eyes and beside the nose
The round side doesn’t reach curved spots well, like under the eyes, beside the nose and around the mouth. Turn the sponge upright and tap in short touches with the pointed tip.
If you often work on small areas, you can keep a small sponge just for that. It’s sized for tight spots like under-eye concealer or the sides of the nose.

| Source | Round side · bigger end | Pointed tip · smaller end | Flat side |
|---|---|---|---|
| e.l.f. (US cosmetics brand) · full-face sponge | Spreading foundation over the whole face | Corners, like around the eyes and beside the nose | Contouring, under-eye concealer, pressing on to cover blemishes |
| e.l.f. · pear shape | Wide areas of the face, especially the lower part | Around the nose, mouth and eyes | Not stated |
| Maybelline (official India site) | Applying on wide areas | Teardrop shape, for every corner of the face | Not stated |
| Beautyblender | Regular-size sponge for base products like foundation | Small sponge (Micro Mini) for concealer in tight spots | Not stated |

Piccasso
Black Makeup Sponge
1 piece
The broad face and angled edge are suited to different areas.
View on Naver ShoppingCan you use a sponge for concealer, blush and powder?
Yes, you can use a sponge for all three. But how wet the sponge should be depends on what you’re applying.
If it’s a liquid or cream, like concealer or cream blush
Wet the sponge and squeeze it out. Put the product on first, then tap with the tip and edges of the sponge to soften the edges.
If it’s powder
Use it damp or dry. Choose by the coverage and finish you want, and press it on with taps instead of rubbing.
If it’s a silicone sponge
Use it only for liquids and creams. It doesn’t soak up product, so start with less foundation than usual.
Put concealer on first, then tap
Put concealer under your eyes or on a blemish first. Then tap with the tip and edges of a damp sponge to blend it into the skin around it.
For where and how much concealer to put on, see how to apply concealer.

Blush: a little at a time on the front of the cheeks
Put a little cream or liquid blush on the round front of your cheeks and tap it out with the sponge. A sponge makes it easier to control how much you apply, so you make fewer mistakes.
For how much cream blush to use and in what order, see how to apply cream blush.

Powder: choose by the finish you want
Tapping powder on with a damp sponge lays it lightly over your base. Some powders are also applied with a dry sponge. Choose based on the coverage and finish you want.
For tips on taking powder from a compact, see how to use a powder compact.

Why does sponge makeup look patchy or cakey?
Check four things first: how wet the sponge is, how you move your hand, how much you picked up at once, and the state of the sponge. Find what you’re seeing in the table below.
A sponge full of old makeup can’t pick up new product
A sponge full of old makeup doesn’t pick up new product well, so it goes on patchy and uneven. If it’s been a long time since you washed your sponge, switch to a clean one today.
Patches can also show when the formula doesn’t suit your skin. A foundation that doesn’t match your skin type, such as dry or oily skin, can look uneven even if you change tools.
You can also prep your skin first. If you’re on the dry side, smooth your skin with a hydrating primer. If you tend to get shiny, control the shine with an oil-free primer. Then pick up the sponge.
| What you see | Check first | What to change next |
|---|---|---|
| Streak-like marks on the cheeks | Did you rub with the sponge? | Tap in short touches, don’t drag |
| The sponge turns dark, but little goes on your face | Was the sponge dry? | Wet it, squeeze it out, then try again |
| The color won’t transfer, even when you tap | Is there too much water? | Press with a tissue to take out water |
| It looks thick and cakey | How much you picked up at once | Put it on your hand and pick up a little at a time |
| It goes on blotchy and uneven | Is old makeup left in the sponge? | Use a washed, fully dry sponge |
| Still uneven, even with a different tool | Your skin type and the foundation formula | Check that the formula suits your skin |
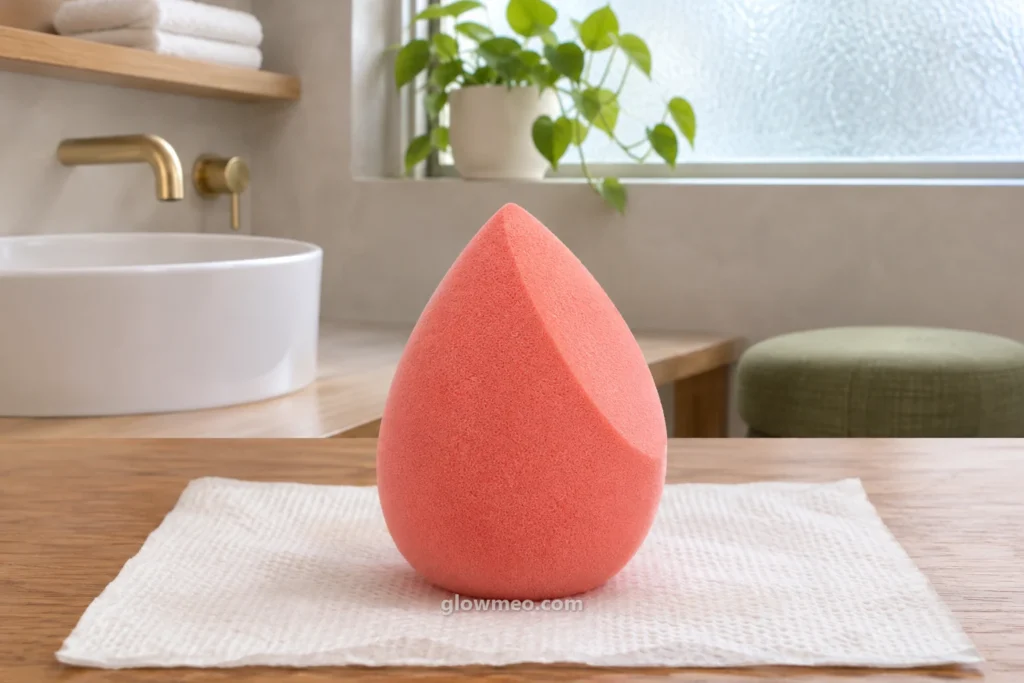

A sponge washed clean and dried, and a sponge soaked with old makeup.
Do you use a sponge for touch-ups too?
Yes. Press a dry sponge on shiny spots to take off oil. On days your makeup looks tired, mist on setting spray and then tap with the sponge to tidy it up.
For shine, just press with a dry sponge
If your nose or forehead gets shiny in the afternoon, lightly press a clean, dry sponge on that spot to take off the oil. Rubbing moves the makeup underneath too, so only press.

Mist setting spray, then tap
In the evening, when your makeup looks tired, try misting on setting spray and lightly tapping your whole face with a sponge. It’s a way to tidy up makeup that has shifted.
How far from your face to hold the spray depends on the product. See how to use setting spray.

Do you need to wash a sponge right after using it?
Yes. The American Academy of Dermatology (AAD) says to clean sponges after every use. The steps for washing and where to dry it are in Lesson 3 of our cleaning series.
Washing and drying, in brief
Wash the used sponge by squeezing it in warm, soapy water. Rinse until the water runs clear, squeeze it out, and let it dry on a clean paper towel. It should be completely dry all the way through before you use it again.
Instead of twisting it hard, press the residue out from the inside in one direction. The sponge gets less damaged that way. For choosing a cleanser and where to dry it, see Lesson 3 of our makeup tool cleaning series.

Advice on when to replace it varies
There’s no single rule for when to replace a sponge. Beautyblender says every 3 to 6 months. e.l.f. says much more often than brushes, about every 1 to 3 months.
The reason given is that a sponge you use every day easily holds on to bacteria and old makeup. Since the advice differs, check your sponge’s package first.
There are also signs to watch for, apart from how long you’ve had it. If it doesn’t go back to its shape after washing, or its color has changed, it’s time for a new one.
On the go, use a case with holes
If you just toss a sponge into a makeup bag, dust and other makeup easily get on it. A sponge case with plenty of air holes keeps it clean between washes and lets it dry all the way through.
If the case closes tight with no holes, don’t put a wet sponge in it.
A sponge note for your vanity
If mornings get confusing, just remember these four.
- WaterSoak it through, squeeze until it stops dripping
- HandDon’t drag; tap in short touches
- SideRound side for wide areas, pointed tip for corners
- After useWash it, then dry it fully where air can move
Makeup sponge questions that come up along the way
Some wedge (triangle) sponges are made to be used once and thrown away, and some can be washed and reused. Check the package first to see if it’s disposable.
A sponge is mainly for tapping on liquid and cream products, and it can apply powder too. A powder puff made of fabric like velour is for picking up loose powder, tapping off the extra and pressing it onto the skin. For using the puff that comes with a cushion, see how to apply cushion foundation.
You can also tap on moisturizer, serum or eye cream with a sponge. If you do, wash the sponge right after and let it dry completely.
Three things to remember before you put the sponge down
Wet it and squeeze it out, tap instead of rubbing, wash it right after use and let it dry where air can move. On days you get patches, check the water and your hand movement first.
Read next
- How to apply cushion foundation: load less, tap, don’t rub
- How to stop skincare pilling: thinnest first, next layer after it sinks in
- How to apply moisturizer: on damp skin after washing, by skin type
- Dark circles: first tell whether it’s blood vessels, pigment or shadow
- All Glowmeo makeup guides