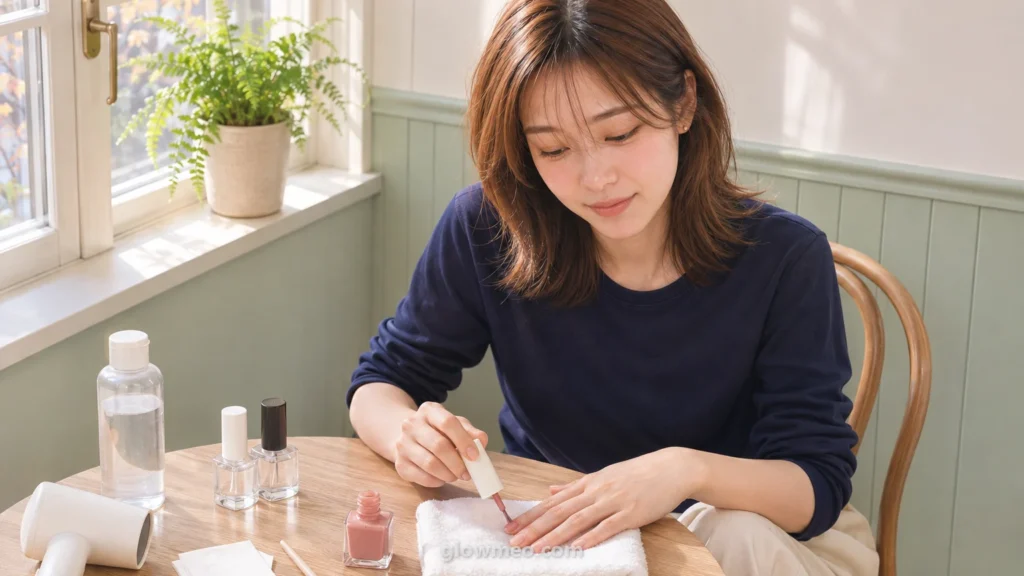
Base Coat vs. Top Coat: Base on the Nail, Top Over the Color
The difference between base coat and top coat is where they go and what they do. Base coat grips the nail and holds the color. Top coat covers the color and adds shine. Yuna adds a table for chipping polish and tips for each nail type.

Base coat is the first layer on your nail. Top coat is the last layer, over the color. The order is base coat, color, top coat. Base coat holds on to the color, and top coat covers it and adds shine.
The two bottles look so alike that it may seem fine to use either one first. But they are made to do different jobs. If you swap them, color sticks less and tends to chip sooner.
This guide is about regular nail polish. For gel that you cure under a lamp, see gel nails at home. For coatings that care for the nail, see how to apply nail strengthener.


What’s the difference between base coat and top coat?
Base coat grips the nail. Top coat protects the color. They aren’t made of very different materials. They use similar ingredients in different concentrations to give a different finish (DermNet, a New Zealand skin information site).
Base Coat is “sticky by design,” so it grips the nail. Top Coat is “hard and smooth,” so it seals in color and protects it from chips.
Base coat is the foundation under the color
Base coat has a lot of resin in it so it sticks well to the nail surface. Resin is the tacky material that holds the film to the nail. In effect, it makes a place for the color to hang on to.
This layer also acts as a wall between the nail and the pigment. Put color straight on the bare nail and that wall is missing. If you often wear dark colors, don’t skip this layer.

Top coat is the finish over the color
Top coat uses film-forming ingredients such as nitrocellulose, which raise shine and reduce wear. It adds one more layer, so everyday scratches don’t hit the color directly. It also makes an uneven surface look smooth.
But don’t expect top coat to work like a nail strengthener. Some contain protein or moisturizing ingredients. If you want to strengthen or moisturize, though, a dedicated product is the better choice (US beauty magazine Allure).
Check the name on the bottle first
You can’t really tell them apart by looks. Look for the words Base Coat and Top Coat on the bottle or box.
If you keep the two bottles side by side, line them up from left to right in the order you use them. You’ll be less likely to pick up the wrong one.
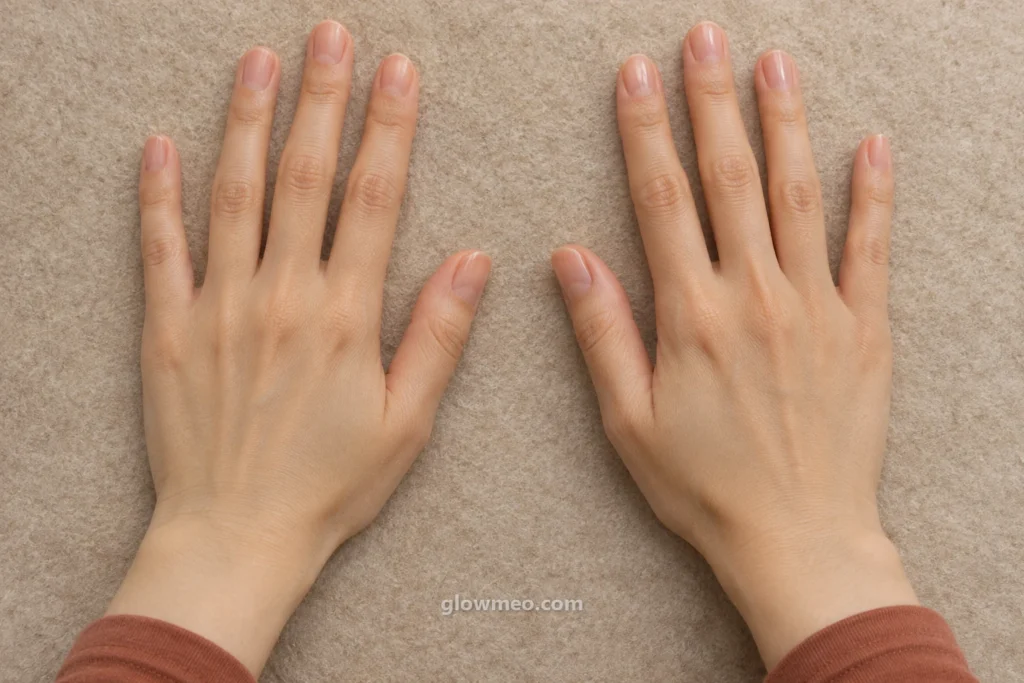 On the bare nail
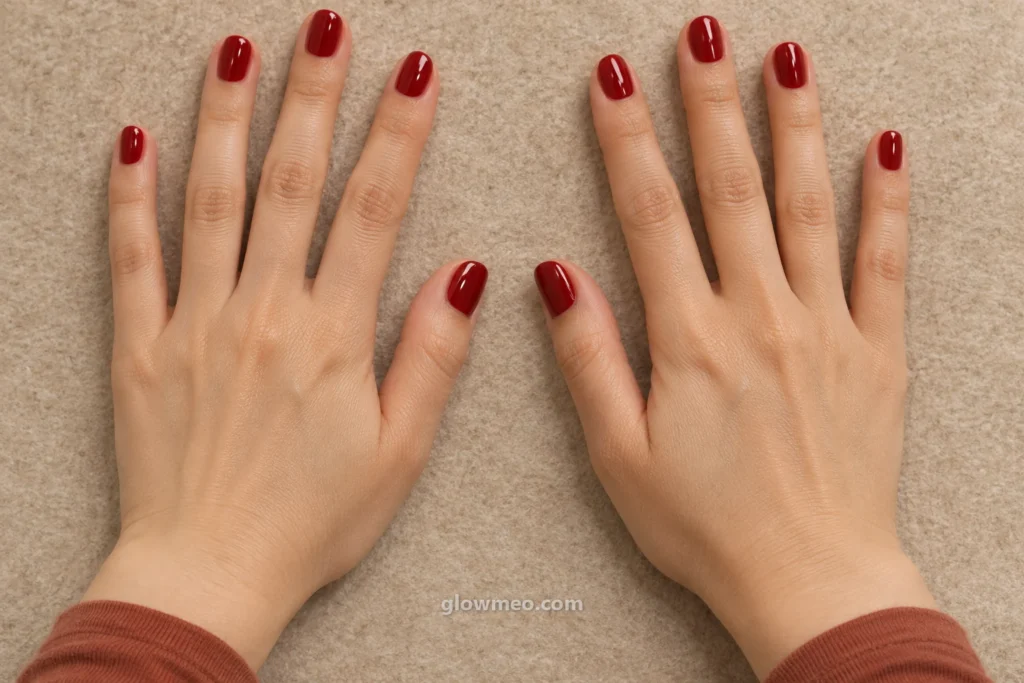 Over the color
The layer on the bare nail and the layer over the color sit in different places.


OPI
Infinite Shine Base & Top Coat Duo
Set
Distinguish the base and top labels and check the application order.
View on Naver ShoppingWhat order does nail polish go on?

One coat of base, two coats of color and one coat of top coat is the standard. US nail brand OPI uses this set, and Essie, another US brand, gives the same order. Neither one puts top coat first.
Clean your nails before base coat
Color doesn’t stick well if oil is left on the nail. After taking off any old polish, wipe the nail with a lint-free pad and remover. Then keep your fingers off the nail surface, because oil from your skin can transfer to it.
Avoid soaking your nails in water too. A nail that takes on water changes shape for a while. As it dries and goes back, the color can crack or peel more easily.
 Wipe
Apply all three thin and even
Thin, even layers are the one rule for base coat, color and top coat. Thick layers get sticky and dry slowly.
To keep color from flooding the cuticle, brush down from the center of the nail first, then do the two sides.

One coat of base on the bare nail 
Two coats of color once it’s dry 
One coat of top coat over the color 
Cover the tip edge with each layer
Start color at the center, and let each layer dry as long as the product says.
Cover the tip edge with every layer
Cover the edge of the nail tip so polish is less likely to peel there. Wipe most of the polish off the brush, then pass it lightly across the tip. Essie says to do this with every layer: base, both coats of color and top coat.
 Less on the brush
Top coat goes over the color, and the product sets the drying time
Top coat goes on top of the color. How long to let the color dry first depends on the product’s directions. OPI says to apply it once the color has dried. Polish loses a little shine when it’s fully dry, and top coat brings that shine back.
If you want a time to go by, look at Essie’s product guidance. It says one coat takes about 30 to 60 seconds to dry, about as long as it takes to paint all ten nails. So finish the last finger, then go back to the first for the next coat. That time is for that brand’s products. If your bottle says something else, follow your bottle.
It takes longer to dry than you’d think
Essie says to sit for about 15 minutes after all four layers. It may feel dry on the surface, but drying all the way through takes 2–3 hours. Temperature and humidity also make a difference.
So painting your nails right before cooking dinner or doing the dishes works against you. Finish your chores first, and start when you won’t need your hands.
What happens if you skip base coat?

If you’re wearing color, it’s better to use base coat. Without it, color sticks less, and the layer between the nail and the pigment is gone. The answer does depend on the product, though.
If you’re using regular nail polish
Apply base coat first. It gives color something to hold and also helps reduce staining.
If the product is made to go on without base
Apply it straight on, as the bottle says. Essie’s gel couture and TREAT LOVE & COLOR are products like this.
If it’s a combined base and top coat
One bottle does both jobs. Apply it the way that product’s directions say.
On red or orange days, add one more coat
When you wear a strong red or orange, add one more coat of base coat. It’s a way to prevent nail discoloration, recommended by the American Academy of Dermatology (AAD).
Deep red stains more easily the longer you wear it. A 2012 DermNet article looks at deep reds that contain the pigments D&C Red No. 6, 7 and 34. It says wearing them 7 days in a row turns the nail plate yellow, and the color fades on its own about 14 days after removal. Don’t assume the same days for reds with other pigments.
 One more coat
If your nails have already turned yellow, rest that color
Nails yellowed by polish go back to their normal color over several weeks if you don’t reapply the same color. While they recover, give that color a rest. If they look the same after several weeks, show them to a dermatologist.
Some nails stain easily whatever the color or formula. Dry nails may stain more easily. Base coat is a layer that reduces staining. It doesn’t fully block it.
Can you skip top coat?
Color still dries without it, but chips and fading come sooner. When you paint your nails at home, it isn’t a must. A nail expert says it’s a step to take if you want your polish to last (Allure).
Use it if you want the color to last
If you’ll take the color off soon, skipping top coat is no big deal. If you plan to keep it on, it’s a different story. Repainting chipped nails means using remover more often.
The same goes for days you want shine. Top coat is the layer that brings back the shine lost as the color dries.
Some finishes don’t need top coat
Special-finish products are the exception. Essie’s TREAT LOVE & COLOR isn’t made to be used with top coat. Its matte top coat, matte about you, needs no other top coat over it. On a matte day, that bottle is your last layer.
Other products ask for their own top coat. The same brand’s gel couture uses its own top coat instead of a regular one. If you don’t know a line, read the bottle once before you start.

Using top coat as base coat makes color stick less
You can, but it isn’t a habit to get into. OPI says that if you swap them, polish sticks less and tends to chip sooner. That’s because base coat is made sticky and top coat is made hard.
Bottles marked for both jobs are different
Some products are made from the start to do both jobs in one bottle. OPI’s Start to Finish, which works as base coat, top coat and strengthener, is one example.
To see if a bottle does both, check the product name and the box. If it doesn’t say so, use it only for the job in its name.

Can you mix brands?
You can, but results vary by product. Essie says it makes its base and top coats to match its own colors, and it doesn’t promise results with other brands. In other words, those products weren’t matched for how well the layers stick to each other.
That’s the maker’s view, so you don’t have to buy a matching set. But say one combination chips unusually fast, even after you’ve gone through the symptom table below. Then you could try a base and top from the same brand as your color and compare.
Why does my nail polish keep chipping?
Before you buy a new bottle, match your symptom first. The causes in the table below come down to layer thickness, waiting time and oil on the nail. Brand advice is grouped by symptom, mainly from Essie’s troubleshooting guide.
If it still chips fast after following the table
How long polish lasts differs from person to person. Polish chips more easily if you wash your hands often, handle detergent with bare hands or open cans with your nails. Sometimes the cause is how you use your hands each day, not how you paint.
In that case, wearing gloves for the dishes comes before adding more layers. Change one habit at a time, then compare how long your next polish lasts.
| The problem | Why it may happen | What to check first |
|---|---|---|
| Tiny bubbles appear | The surface dries first and traps solvent inside | Apply thin coats and rest between layers. Don’t shake the bottle. Turn it upside down and roll it between your palms |
| It peels from the tip | The tip wasn’t covered, or oil is left under it | Cover the tip edge with each layer, and clean under the tip when you wipe |
| It lifts off in one piece | Oil left on the nail or a soaked nail may be the cause | Wipe with remover, don’t soak your nails, and use base coat |
| It dents and shows marks | Essie says that with thick layers, the polish under the top coat can stay not fully dry for up to 2 hours | Apply thin coats and put off using your hands |
| It’s sticky and won’t dry | The layers are too thick | Apply thin, even coats each time |
| Color drags or looks patchy | The brush went back over a spot that had started to dry | Use a few long strokes and don’t go back over the same spot |
| The polish in the bottle has thickened | Dried polish at the neck keeps the cap from closing, so solvent escapes | After use, wipe the neck and close the cap tightly. Keep the bottle away from heat and flame |
 Bubbles
 Chipped tip
Skip thin coats and you tend to get bubbles. Skip the tip and polish tends to peel from there.
The layer to focus on depends on your nails
Even with the same bottles, the layer to focus on first depends on your nails. Pick the one row below that’s closest to you, and change that first.
With weak nails, look at how often you remove polish
If your nails are weak and split easily, don’t remove and reapply polish more than once a week. Using remover too often can lead to more splitting and breaking (HealthLink BC, a health information service in British Columbia, Canada). If you think polish or adhesive is causing your nail problem, don’t use it.
For how to shape your nails and tidy around them, see how to trim your nails at home.
| Your nails | Base coat side | Top coat side |
|---|---|---|
| Oily nails | Wipe well with remover before you paint, then don’t touch them | Cover the tip edge, and add a coat before it chips |
| Very short nail tips | If covering the tip is hard, one way is to pull the skin at the tip down a little and cover the tip first (OPI) | Cover only as much as you can |
| Weak nails that split easily | OPI says to use a strengthening product in the base coat spot, but the AAD says polishes with strengthening ingredients stiffen nails and may make them break more often. Check the bottle’s directions first | To use remover less often, add a coat instead of repainting |
| Dry nails | Staining can happen more easily. Don’t skip base coat before dark colors | After removing polish, moisturize your nails with cream |
| Hands often in water and detergent | Put on gloves first | Cover the tip edge, and add a coat before it chips |
How often should you add more top coat?
There’s no set number of days. Advice runs from every two days to every few days, so add a coat when the shine has faded. It isn’t a step you have to do, either.
The number depends on who you ask
Essie says every other day, covering the nail tip as well. Nail artist Jin Soon Choi suggests every three days, and another manicurist says every few days (Allure). The goal is the same: to bring back the shine and make the polish last longer.
So I suggest going by your nails, not the calendar. If the shine has faded when you hold them up to the light, that’s the day to add a coat.
 Adding a coat
 isn’t the same as repainting
Adding a coat means putting on one layer of top coat without removing anything. Repainting means taking it all off with remover and starting again. The once-a-week limit for weak, splitting nails is about removing and repainting. If you keep a deep red on for more than a week by adding coats, watch for staining too.
On days you take it all off, moisturize your nails with cream. Most removers contain ingredients that dry out nails. For how to choose a remover, see acetone vs. non-acetone nail polish remover.
Are gel base and top gel the same thing?
The order is similar, but they set in a different way, so they’re different products. Gel goes on as base gel, color gel, then top gel, and each layer is cured under a lamp. ORLY Japan’s official guide gives LED 30 seconds or UV 2 minutes per layer for its GEL FX. That time is for that product. For other gels, follow their own instructions.
Some bottles say gel but need no lamp
Some products go on and dry like regular polish but have gel in the name. Essie’s gel couture and gel setter are used without UV or LED light. So don’t sort by name alone. Check whether it tells you to cure under a lamp.
If your gel needs a lamp, the drying times in this guide don’t apply. For everything from prep to top gel, go to gel nails at home.
Before you close the bottle
- Is any cream or oil left on your nails?
- Is this bottle one that goes on without base?
- On a strong red or orange, did you add one more coat of base?
- Did you cover the tip edge?
- Did you wipe the bottle neck and close the cap tightly?
A few more nail polish questions
The standard in the guide from US nail brand OPI is one coat. When you wear a strong red or orange, the American Academy of Dermatology recommends one more coat to prevent discoloration.
One coat is the standard. US nail brand OPI also says one layer. A thick coat dries slowly and tends to show dents, so instead of adding layers, it’s better to add a thin coat a few days later.
No. US nail brand Essie says its primer can be used alone, instead of base coat, or under base coat. Where primer goes differs by product, so check the bottle’s directions.
If it’s been open a long time, it’s better to replace it. US nail brand Essie says to throw out bottles that have been open for more than 24 months. For products sold in Korea, follow the expiry date or period after opening shown on the bottle or box.
Base and top: three things to remember
Base coat goes right on the nail, top coat goes over the color, and neither replaces the other. If polish chips, check thickness, time and oil before you change bottles.
Read next
- How to Apply a Nail Strengthener: Recoat and Removal Days
- Acetone vs. Non-Acetone Nail Polish Remover: Labels, Fire Warnings, How to Use
- How to Trim Your Nails at Home: Cut, File, Cuticles, Moisturize
- Home Pedicure Steps: Remove, Shape, Base, Color, Top Coat
- All beauty supplies guides